- About Us
- Products
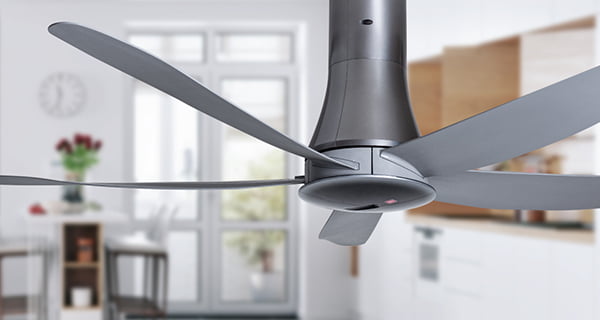
CEILING FANS
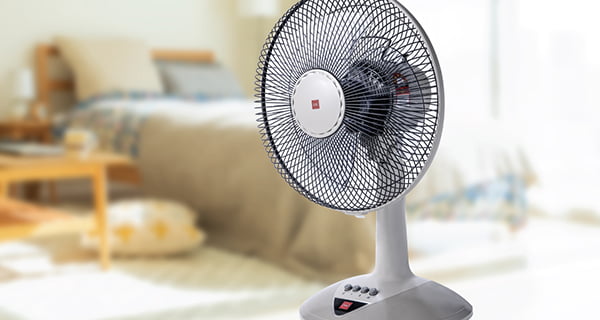
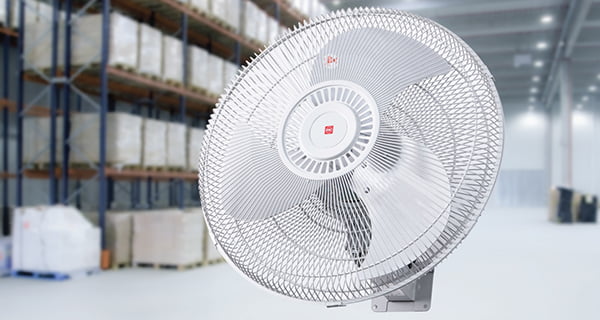
GENERAL FANS
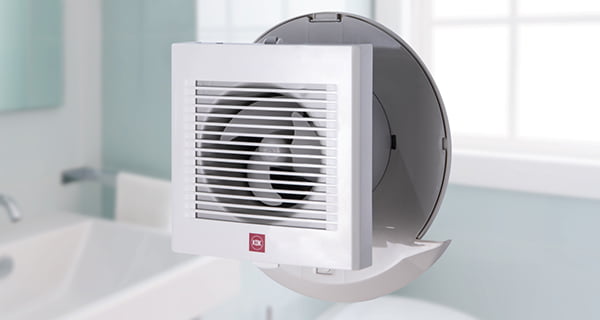
VENTILATING FANS
CEILING FANS
GENERAL FANS
VENTILATING FANS
- Dealer Locator
- Customer Services
- Contact Us
- Support
- E-Warranty
- Ventilating Fan Selector
- About Us
- Products
CEILING FANS
GENERAL FANS
VENTILATING FANS
CEILING FANS
GENERAL FANS
VENTILATING FANS
- Dealer Locator
- Customer Services
- Contact Us
- Support
- E-Warranty
- Ventilating Fan Selector